
Source: RMG
How to Install Drawers Slide
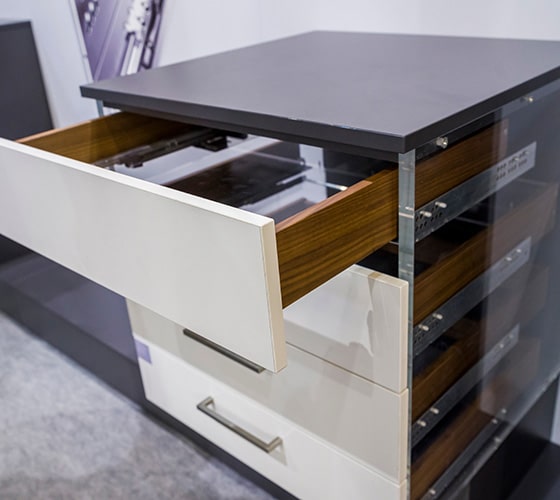
A drawer slide is basically the item that connects your drawer to the frame and makes sure it can slide in and out smoothly. There are many types of drawer slides available in the market. Some examples are ball bearing slides, side mount slides, under-mount slides, and telescopic extension slides. The right one for your project is the one that fits your drawers and your personal preference.
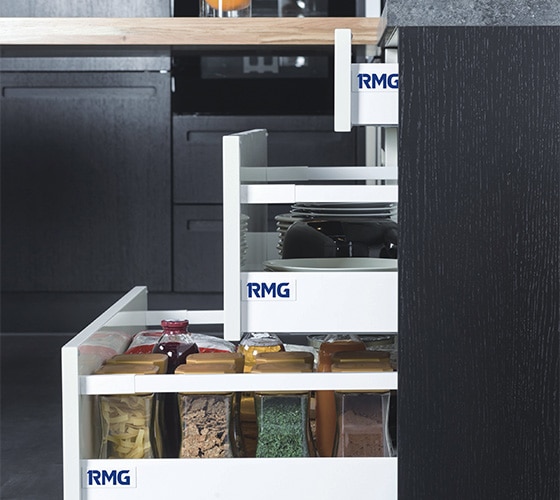
Regardless of the type of drawer slide you choose, there is a simple method you can use to install them yourself. Read on to learn how to do just that.
Different Types of Drawer Slides
Not all drawer slides are the same. In fact, the market is full of different types and variations of drawer slides. However, all the variations of drawer slides can be condensed into two main groups: under-mount slides and side-mount slides. Here is a simple table explaining the difference between the two types.
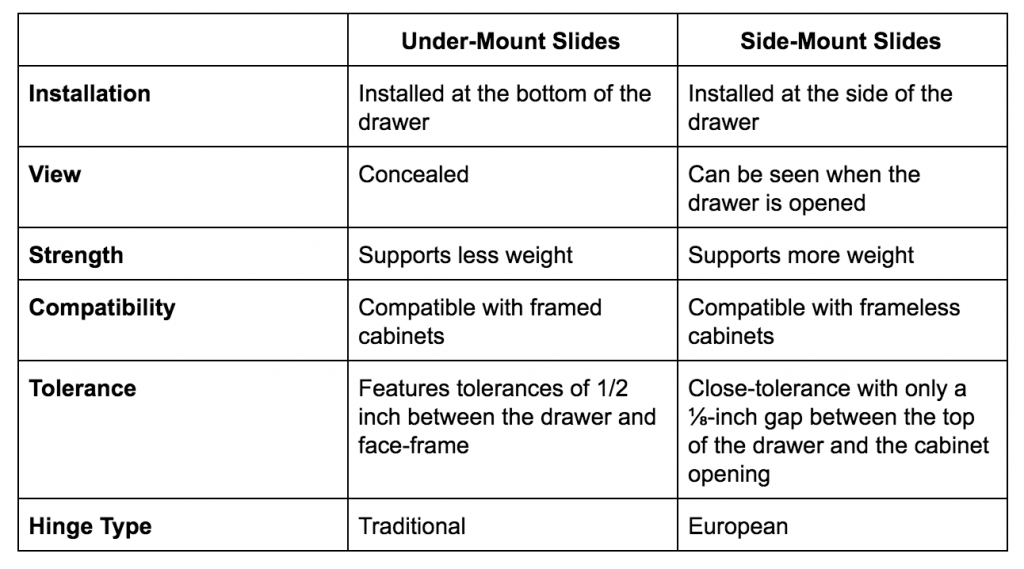
The good news is that both under-mount and side-mount slides have a similar installation process. The only difference is the location of their installation. So let’s take a look at the installation process.
Installing Drawer Slides
Installing a drawer slide is not a tool-heavy process. This means you can install the cabinet using tools we all have in our sheds already. Here is a list of materials and tools you need to install drawer slides:
- Drawer slides
- Tape Measure
- Pencil
- Ruler or Straightedge
- Drill or Driver

For the purpose of this tutorial, we will be focusing on how to install full extension drawer slides. These slides allow you to extend your cabinet to (almost) its full length. These are the most common types of slides used for different kinds of cabinets.
How to Install Bottom Mount Drawer Slides or Center Mount Drawer Slides
Step 1: Prepare the Cabinet
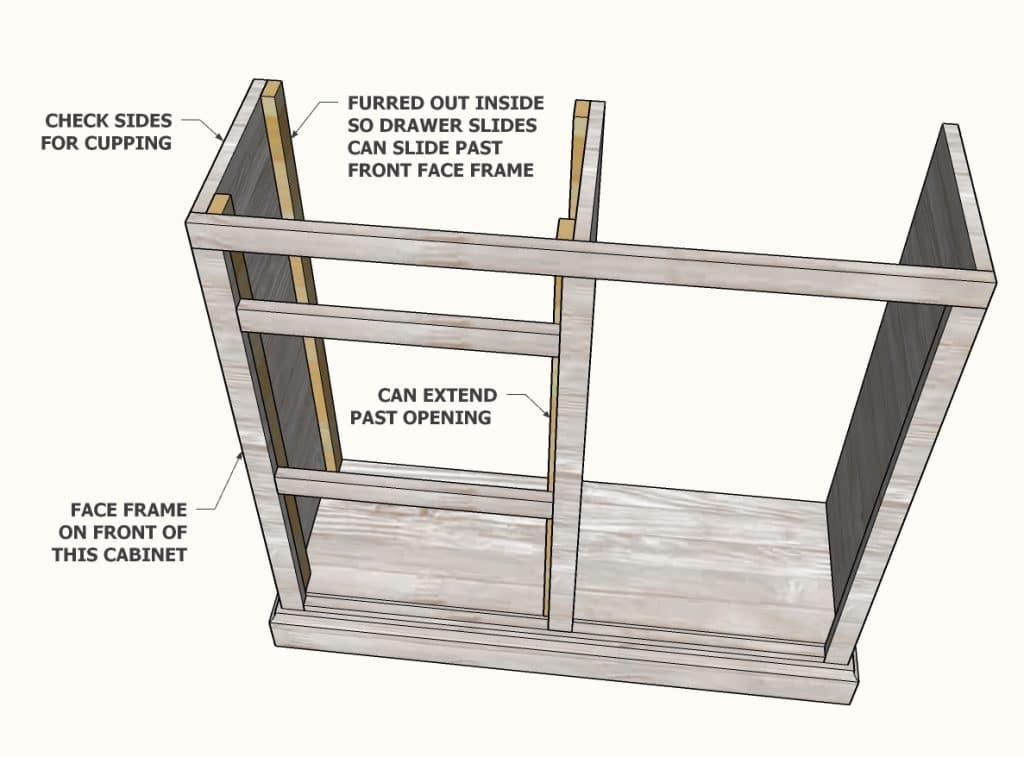
The first thing you need to do is to prepare the cabinet and its frame to make sure that the slides are installed correctly. Check the following things:
- Make sure the size of the cabinet and that of your slides matches. If the cabinet is too long or wide (usually more than 3 feet wide) it will get wobbly.
- The inside of the cabinet needs to be a nice square shape. If it is a trapezoid or parallelogram shape, the slides won’t fit in snuggly.
- Check to see if there is any cupping on the cabinet insides. If there is any cupping the drawer won’t slide in smoothly. This is more common when using solid wood cabinets.
- If you’re going to use furring strips on the inside of the cabinet, make sure they are located where your drawer slides can be screwed into them easily.
If you’re replacing existing drawer slides, empty the specific drawer and remove it from the cabinet. Unscrew the existing drawers slides from both the cabinet and the drawer.
Step 2: Prepare the Slides
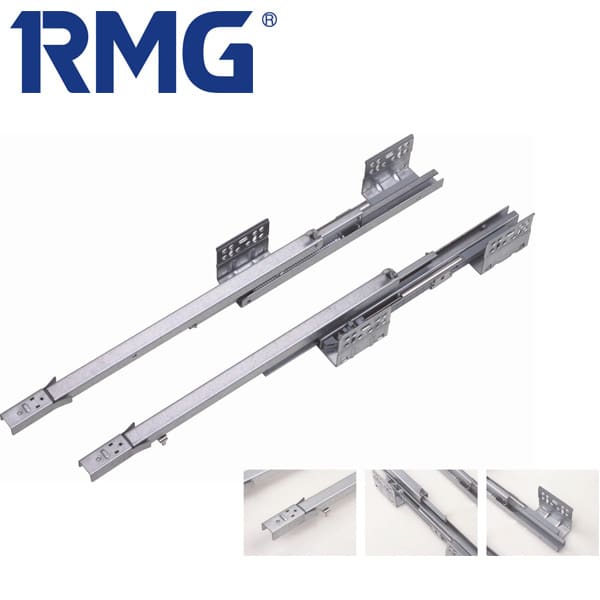
Drawer slides usually come packaged as a single unit. You need to separate the individual parts to install them. Here is how to do that:
- Each slide has a drawer member, a cabinet member, and an intermediate member. The drawer member is smaller than the cabinet member.
- To separate all the members from each other, you need to locate the disconnect lever present on the slide. Note: The disconnect lever could be friction, push latch, or rail depending upon the manufacturer.
-
Once the disconnect lever is pressed, you can easily separate the drawer member from the intermediate member, leaving the cabinet member behind. Tip: You’ll be using a pair of drawer slides for side-mount drawer installation.
Mark the parts of the slide as RD and RC for the right side of the drawer and LD and LC for the left side so your slides don’t mix.
Step 3: Mark the Position of the Slides
Now that both your cabinet and slides are ready for the installation, let’s mark the areas where your slides will be installed.
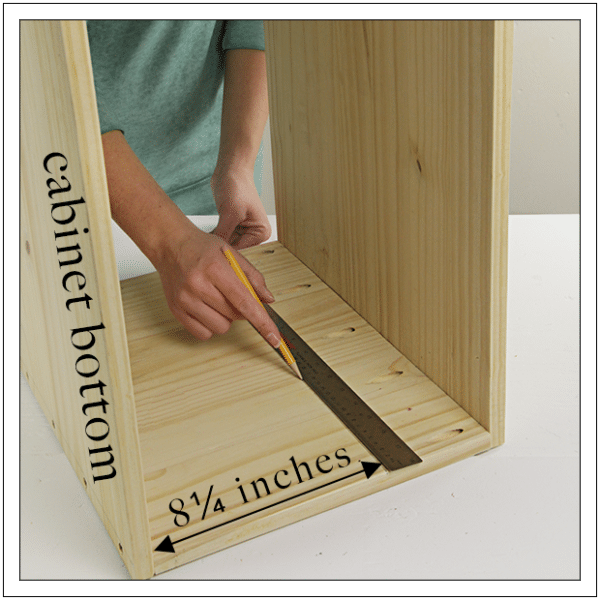
- Start from the bottom of the cabinet and make a mark 81/4 inches above it. Do this for both the front and back of each sidewall. You can use a ruler and pencil for doing this or use a tape measure.
- Now draw a line connecting the front and back marks on each side.
- Make a mark on each line that is ⅞ inch from the front of the cabinet to allow for the thickness and inset of the drawer.
Step 4: Install Cabinet Glides
Now that you have the marks ready, its time to install the cabinet slides.
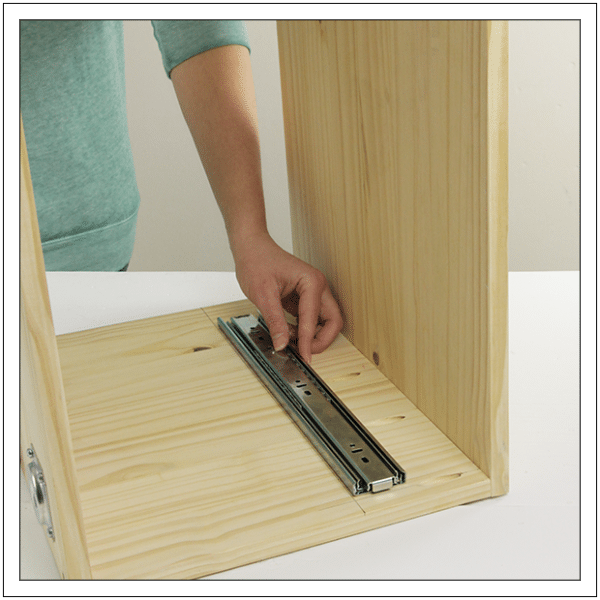
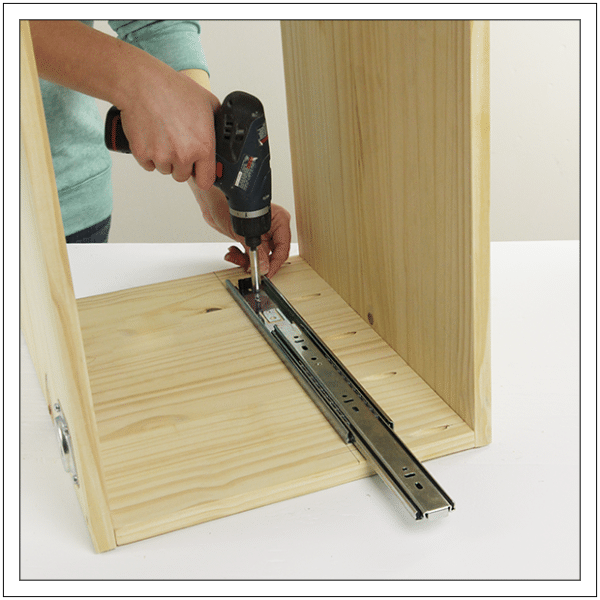
- Place the cabinet slide in a way that the bottom of the slide is in line with the line you drew on the cabinet side. Make sure the slide is behind the mark you made for drawer thickness.
- Now hold the slide in place with one hand and slide the intermediate drawer so you can access the cabinet slide.
- Use a drill to make holes in the front and back of the slide. Then use the screws provided to mount the slide to the side. Repeat this process on the other side of the cabinet as well.
Step 5: Install Drawer Glides
Now it’s time to install the slides on the drawer.
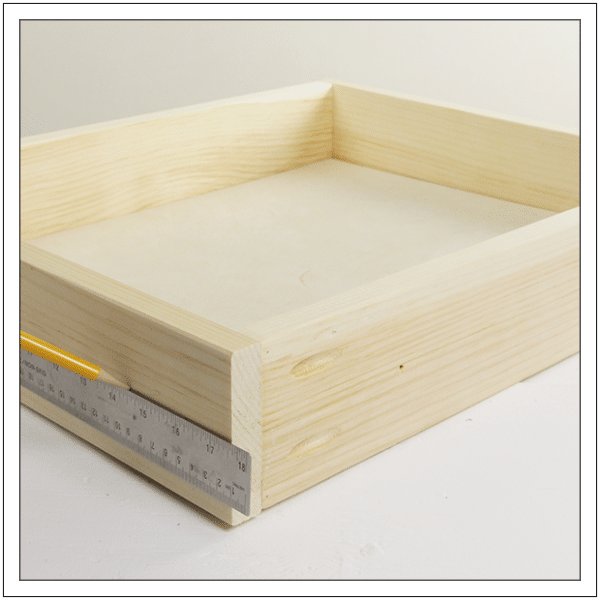
- Use a tape measure to mark the center of the drawer height. Make multiple marks and connect them to form a line.
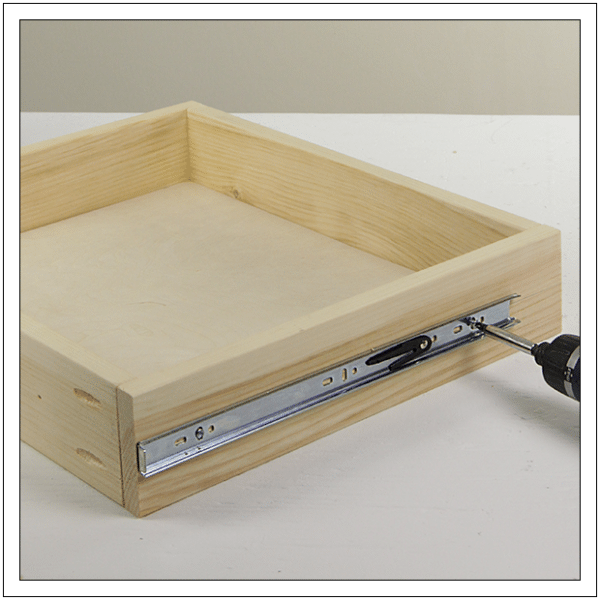
- Align the drawer slide on top of the line and drill holes at the start and end of the slide.
- Attach the screws provided to mount the slide. Repeat this process on the other side of the drawer.
Step 6: Insert the Drawer in the Cabinet
Now that the slides are installed on both the cabinet and drawer, its time to slide the drawer in place.
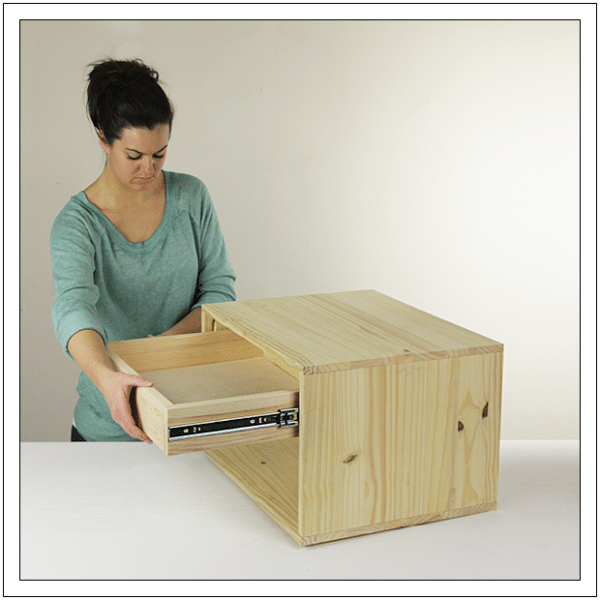
- Hold the drawer in front of the cabinet to align the slides on the drawer and cabinet.
- Push the drawer so that the drawer slide engages with the inside tracks of the cabinet slide. Note: The first slide of the drawer may require a little more force. But once the slides engage the drawer should slide smoothly.
That’s it, you’re done. If you want to see this process in action, refer to the video tutorial below.
FAQs About Cabinet Hinges
1. How to measure drawer slides?
You can easily measure drawer slides by using a tape measure to gauge their length and height. Remove the drawer slides, lay them down on a flat surface and measure their width and length.
2. How to remove ball-bearing drawer slides?
Ball-bearing slides can be removed using these methods.
3. How to determine drawer slide length?
You can use a tape measure to determine the drawer slide length. Just lay the slide on a flat surface and measure from one end to the next. The details are also available on the slide packaging.
4. How to install a sliding drawer in a cabinet?
Sliding drawers can be installed in a cabinet using the method explained above. The only difference is that you’ll have to use a sliding drawer slide which is easily available in the market.
5. What size drawer slide do I need?
The drawer slide size will depend on the size of your cabinet. Our team can help you decide the size of the drawer slide when you contact us.
Conclusion
You can easily install most drawer slides on your one. Some slides may need professional help though so make sure you know which one you’ve bought. Our team can help you decide which slide is best for your project and how you can install it easily.
Aside from drawer slides, we also offer different types of cabinet hinges, such as wardrobe hinges, concealed hinges, corner hinges, and more. Contact us today for more details.
RMGHardware is a professional cabinet hinge manufacturer who works closely with various well-known furniture brands, check out our blogs for tips and tricks around furniture hardware! Or contact us if you need help with sourcing hinges.